CD with 3D
Culinary Design with 3D Printing
How can we infuse technology into classes that do not see technology as a benefit to their curriculum? Follow me on a journey of discovery as I use CAD and a 3D printer to amp up culinary design of a cake before I attempt to bake!
In today’s world we can now become novices to experts in anything with the help of Youtube, Pinterest and Social Media. With the help of these digital resources I have become a:
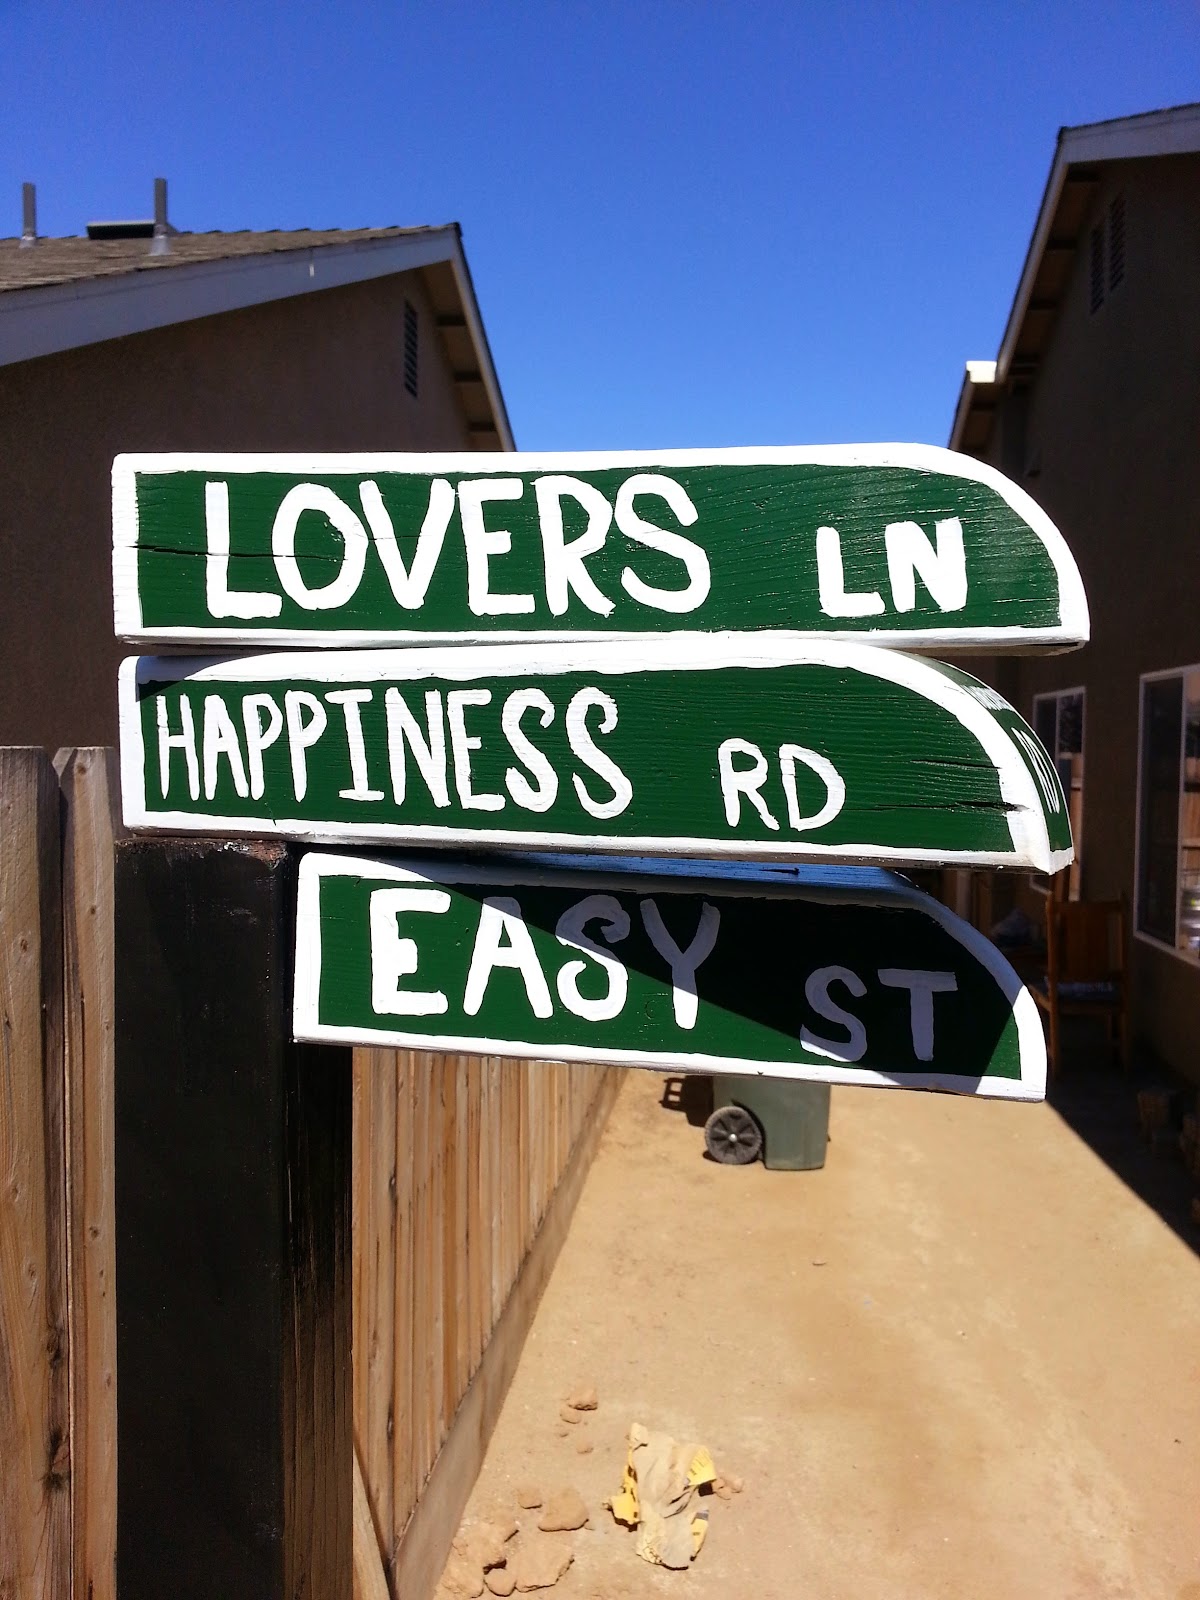
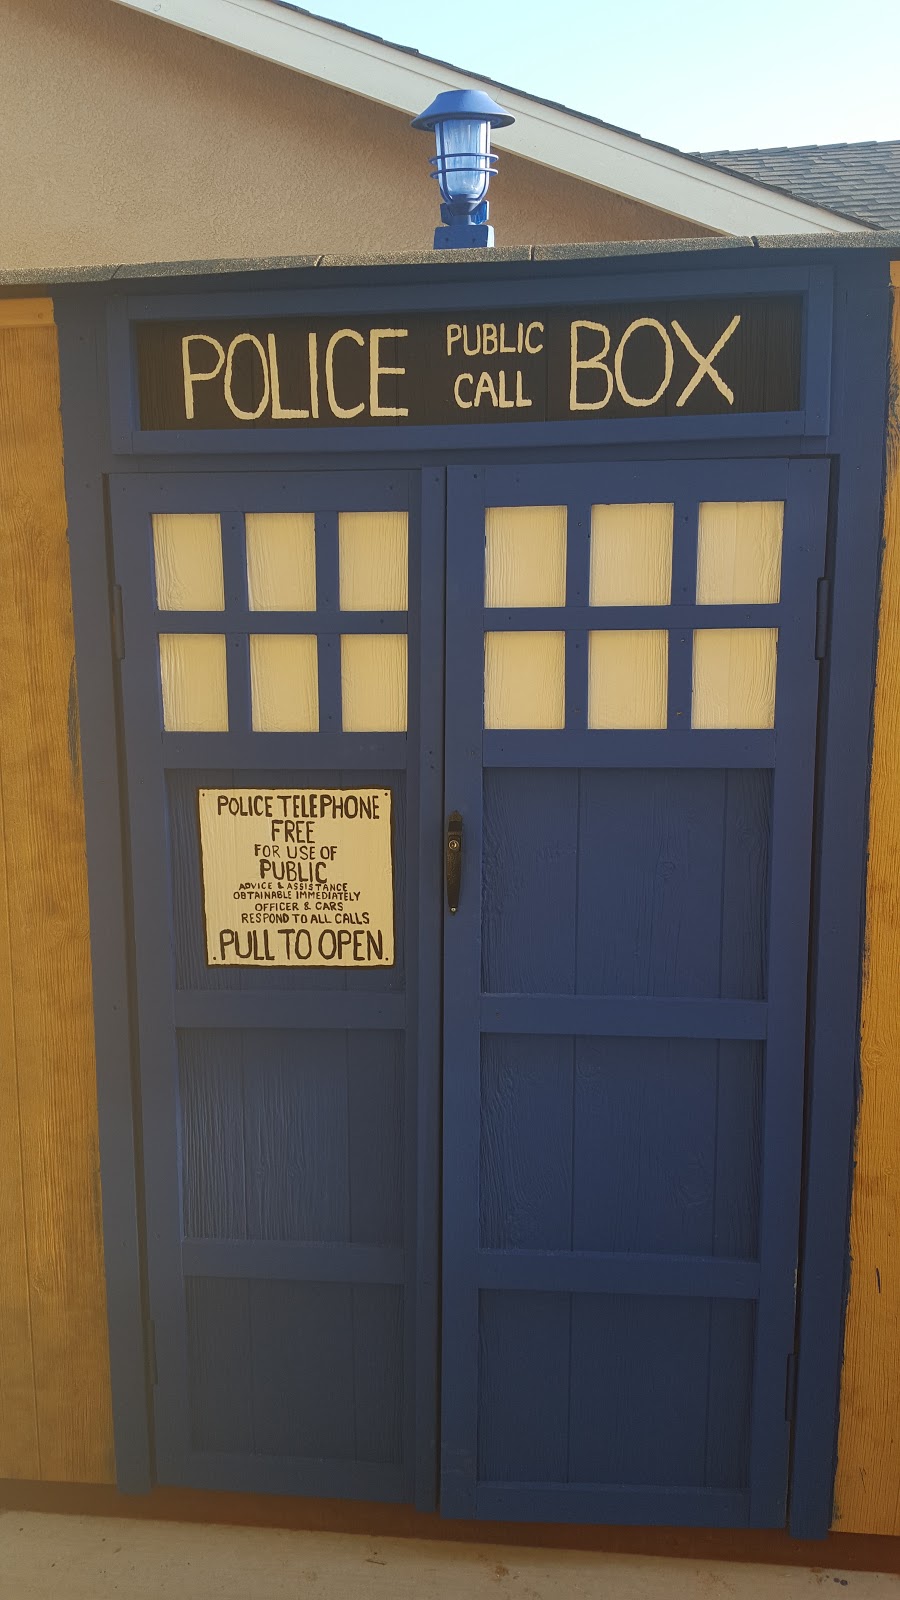
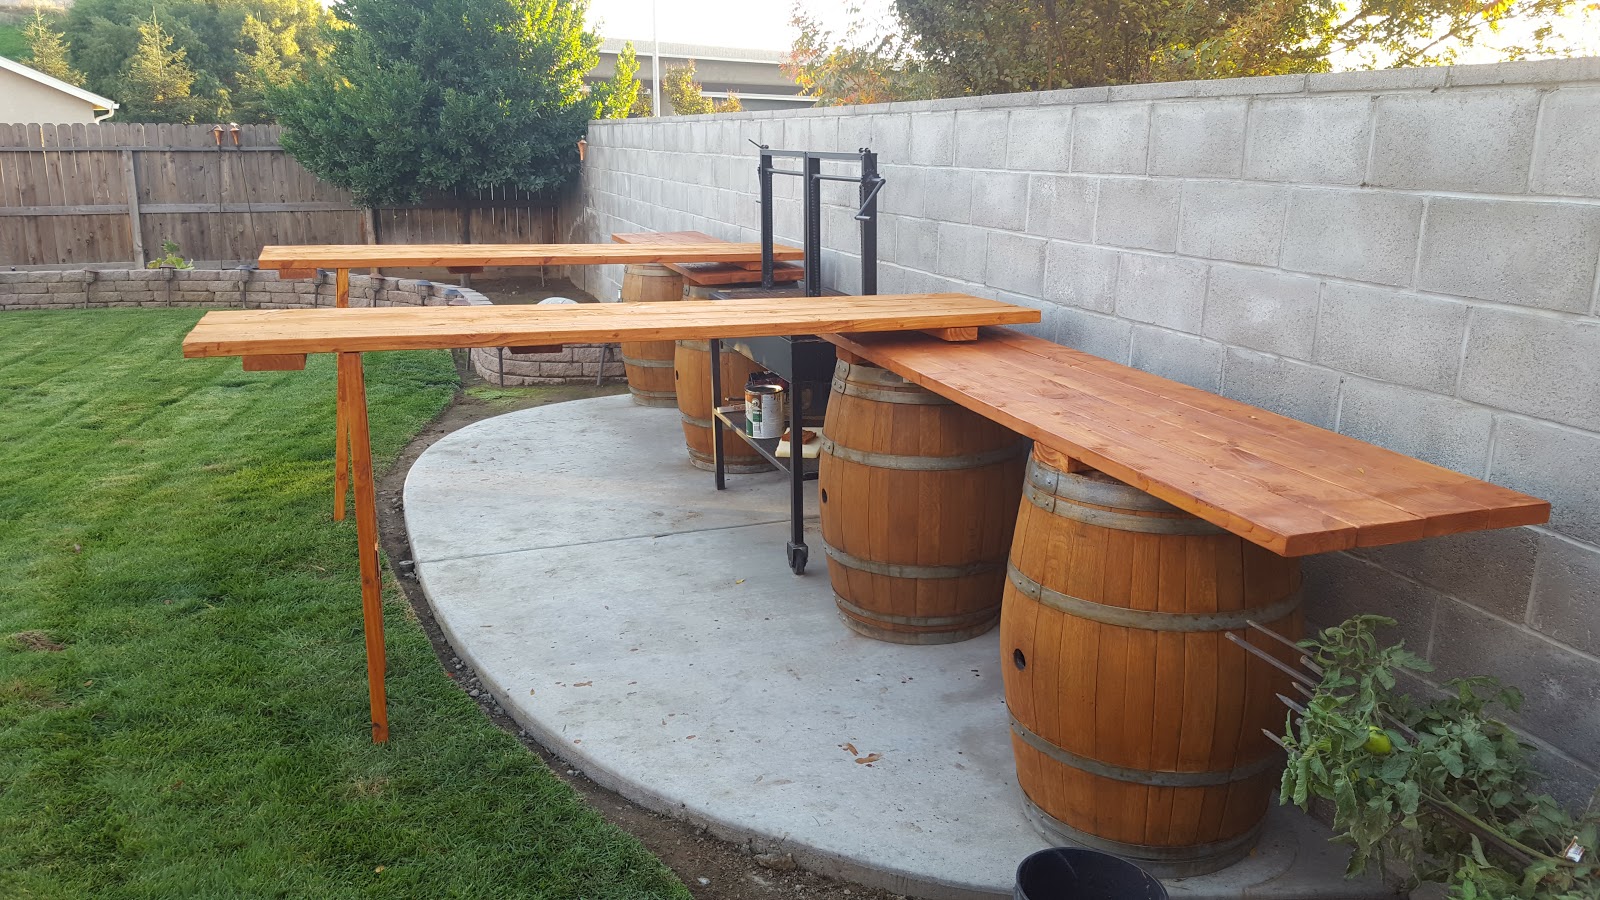
Street Sign Creator, Firepit Pergola Builder, Shed Designer, BBQ Transformer and Playroom Architect

Yet there is one thing I have always wanted to be which is easier said than done… a great Dad! Now I know there is no one way a father can become a great dad, but I wanted to create a tradition where my kids would be able to say “I loved it the way dad always…” One tradition I always keep going is to dress up as Santa on Christmas morning for daughter and nieces, just like my grandpa always did. But besides the perfect pillow, there isn't much effort put into this tradition. I wanted to do something more. I wanted to show how much I cared by learning a new skill and making a tradition out of that. I decided to become the baker of my daughters birthday cakes. So off to pinterest I went to find the perfect cake to bake.
As I always emphasize to my students, preparation is key to any new project, or as my grandpa used to say “measure twice, cut once.” With wood and stone preparing and measuring is pretty easy, but with cake a mistake can set you back hours. So I was stuck with deciding how perfectly design my cake before any batter was mixed. At first I started to sketch out my design on paper, but i could not get my vision from my brain to translate over to the blueprint. How could I create a rendering that would best execute my design and vision. The answer was CAD, TinkerCAD to be precise. I would use the 3D design software to design my cake.
The main reason I decided to use TinkerCAD as my medium is the pre-cut shapes already to use for my design. The shapes could be resized to “become” the exact size and shape of the plans I already had available to me in my kitchen. By resizing and stacking the shapes I was able to create an exact replica of what my brain was showing me.
Below is what I was able to create in TinkerCAD using only the size and shapes of pans I had in my Kitchen:
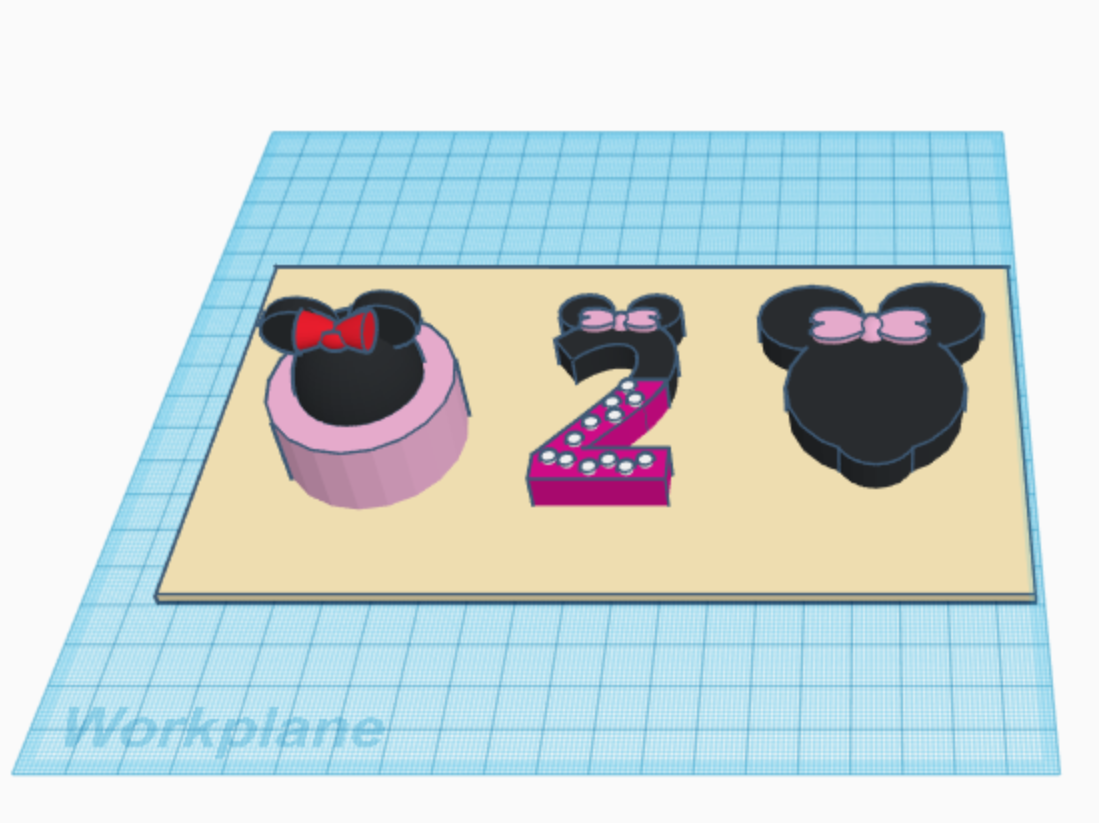
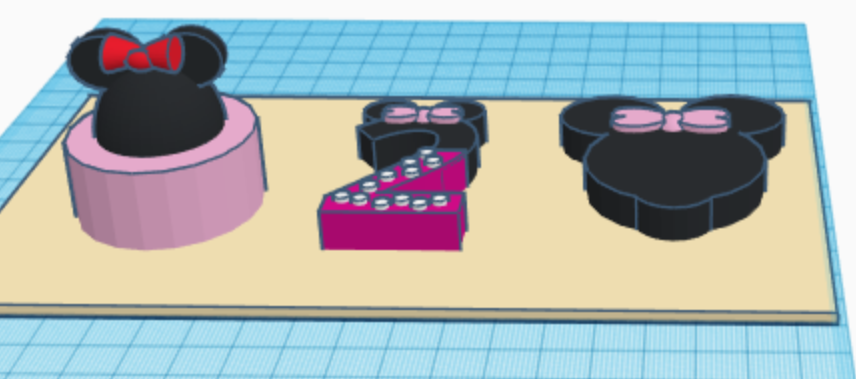
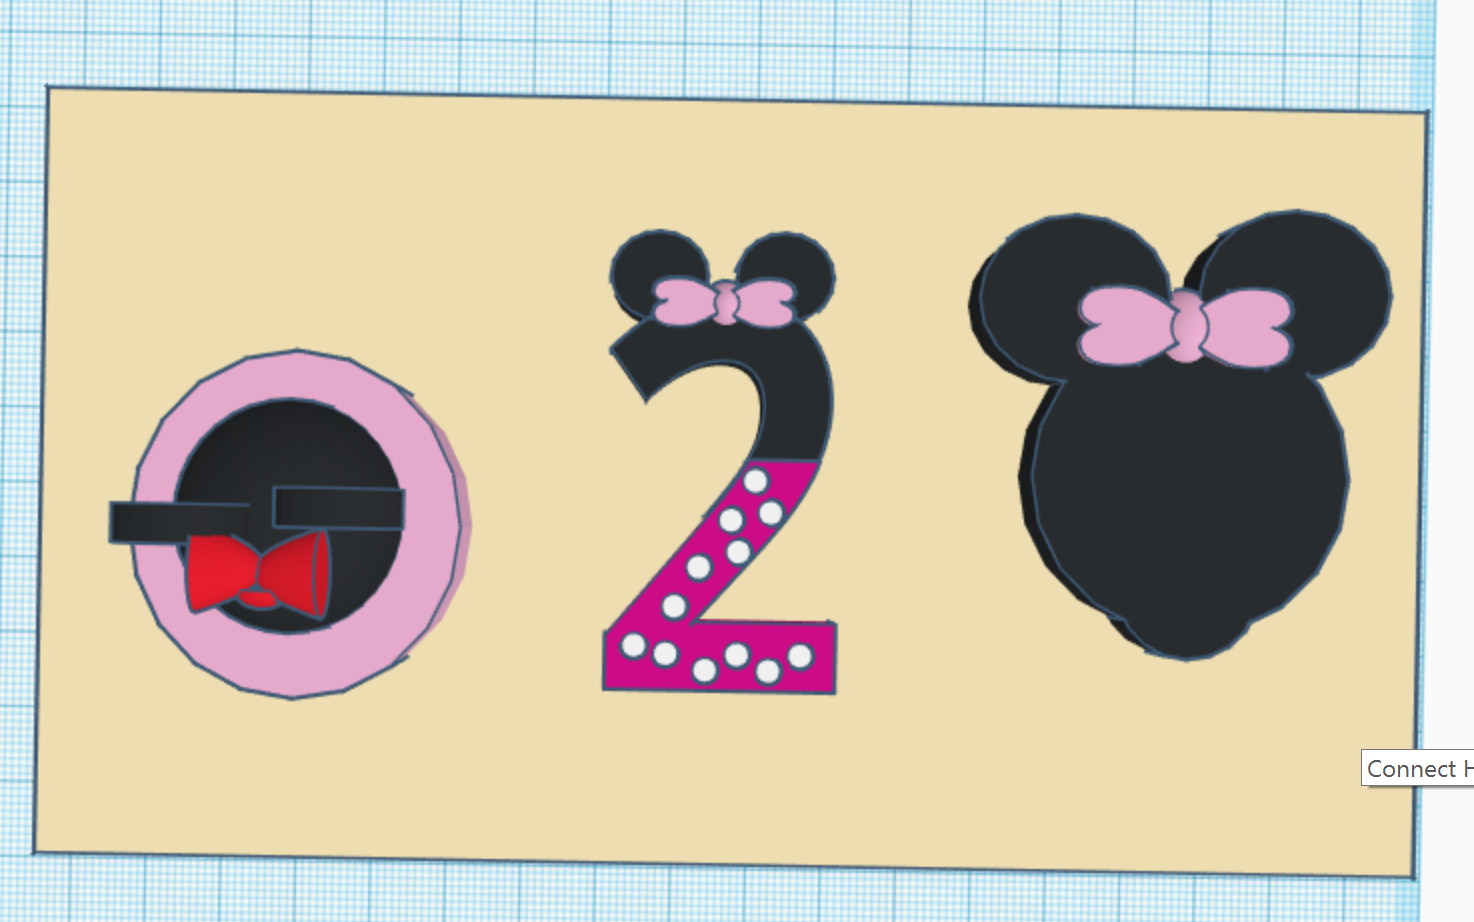
I was then able to print out my design using a Makerbot 3D printer to use as reference during the actual building of the cake. Now I know this seems like a lot of pre-work, but I am an extreme planner and do not mind spending extra time on preparation if it means the final product will be that much better. This is the same mindset we need to ensure is encouraged in our classrooms on a daily basis. It is not always about the final product, but the steps you took to get there. If the project does not turn out the way you wanted, you can always go back to your preparation and determine what you need to fix or do better next go around.
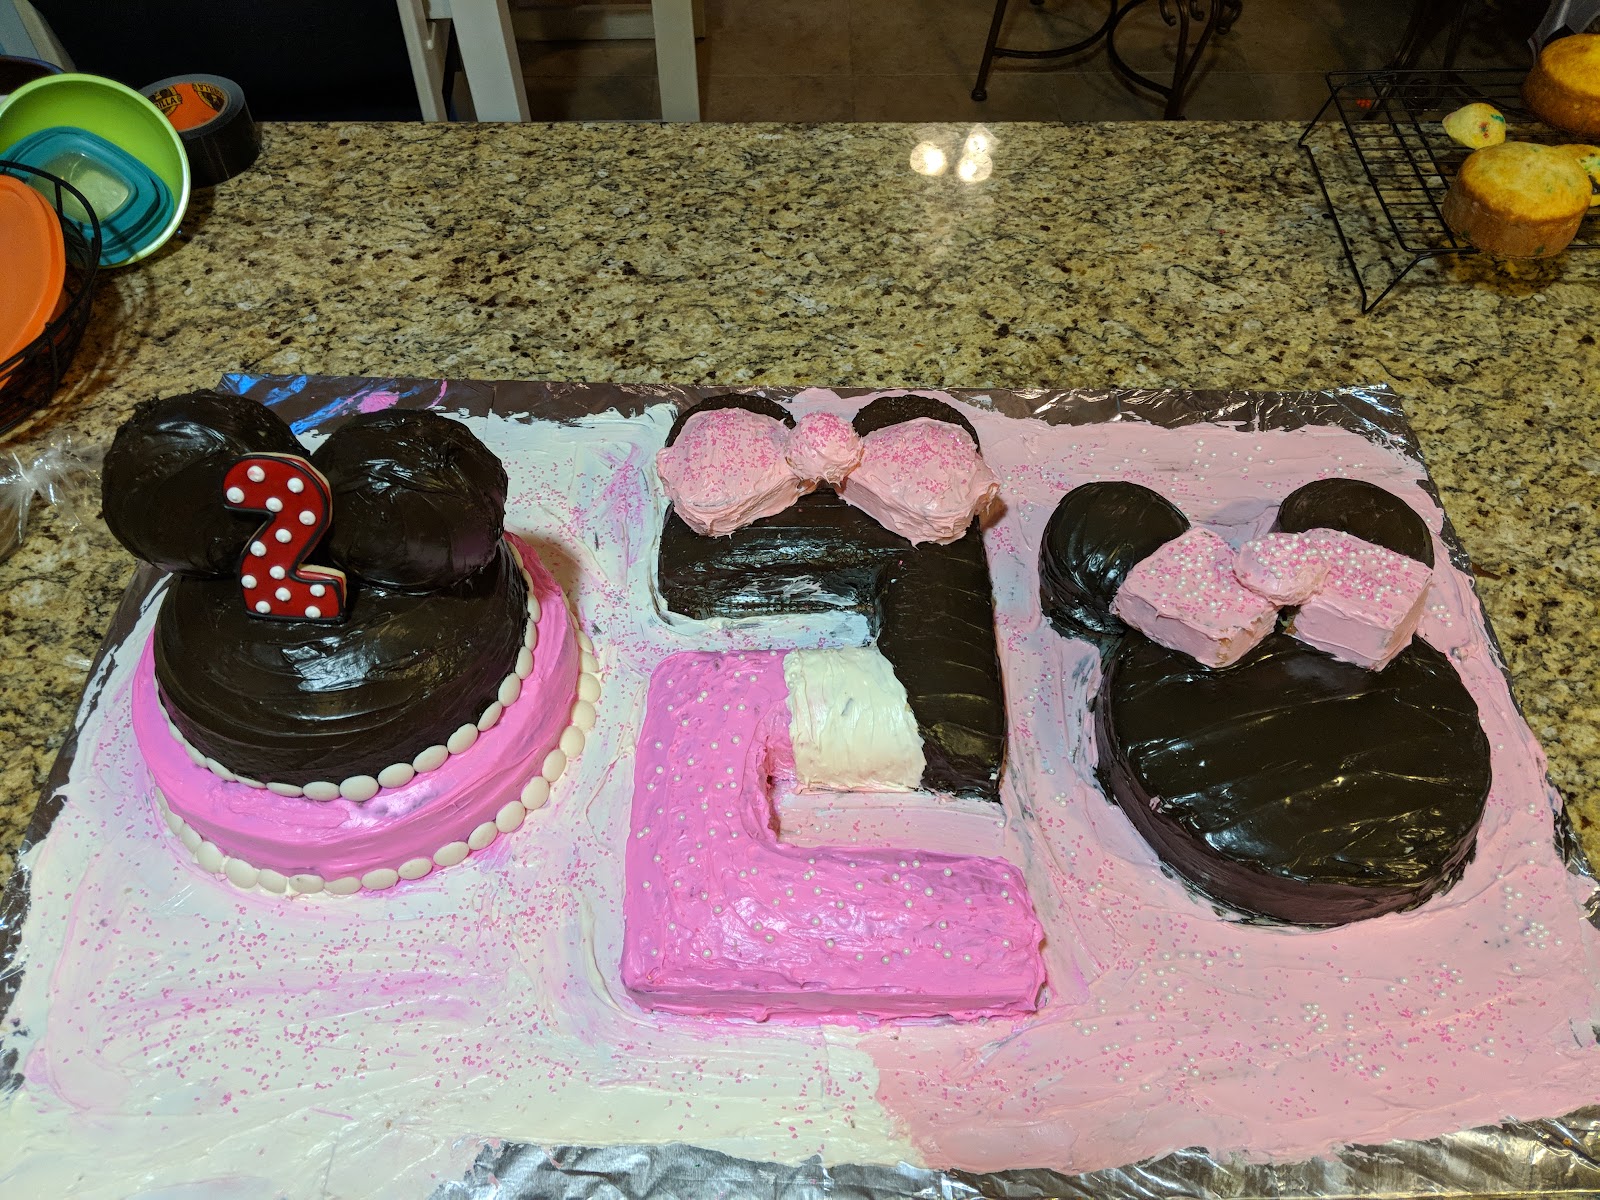
Oh and how did the actual cake turn out? Well it’s not going to win any competitions on Cake Wars, but for a two year olds party and a dad’s attempt made out of love, I think it turned out pretty well:

This activity would fit perfectly in a Home Economics class, or a Culinary class on your campus. To infuse technology into a class which normally would see no use for it is such a SWEET idea!!!
No comments:
Post a Comment